How a Fantasy Coin is Made - Shire Post Mint's Process
Coins are simply bits of metal that have been impressed with a design and are used as a medium of exchange. The basic process is that a "die" is created with a negative impression of the design. Two dies are then pressed or "struck" with the metal blank between. A fantasy coin is made in a few basic stages: design, engrave, blank, stamp, and finish.
Designing a fantasy coin
The coins we aim to make here at Shire Post Mint are in-world, meaning that they could come out of the pockets of a commoner or king. When designing, we look at the world as a whole and try to answer some basic questions: Who or what would be depicted on the coin: a ruler, an idol, a god, a symbol, or simply text? What would the coins be used for: a monetary system, exchange of information, advertising for a new ruler?
Once we have a basic concept, we move towards the design and more questions arise: What metals would they use? How big would these coins be? What would the text say? We often look back to Medieval and ancient world coinage to research art and engraving styles as well as the information often included on a coin. Engraver Greg Franck-Weiby used the same chisel-engraving technique for our Leif Ericsson Vinland coin as the Vikings used when making coins in the 9th and 10th centuries.
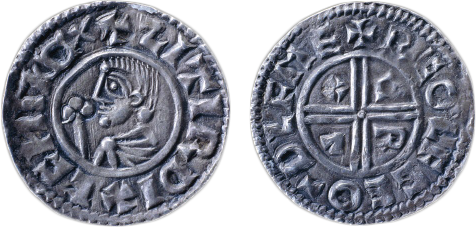
A Viking silver penny of Sihtric Silkbeard, circa 990-1000 AD
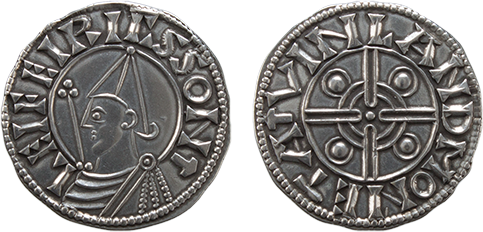
Our “Historical Fiction” Leif Ericsson Silver Penny circa 2004
Our coin designs are 2D, often sketched by hand and aided by simple graphic design programs. The subtleties within the design (such as texture and depth) are up to the engraver in the next step.
Engraving the design
The first step in engraving is to reverse the design as the coin will come out as a mirror image. Tom's very first experiment with making custom coins came out backwards because he forgot this step! Many techniques can be used to engrave into tool steel including acid etching or the use of electric engraving tools. Here at Shire Post Mint we often use a pantograph machine, also known as a pantograph mill or reduction lathe, to begin the process. This allows us to take a large design and reduce and engrave it directly into the steel. The engraver controls the engraving point of the pantograph by "tracing" the 2D design with a stylus. A spinning bit cuts the same movements into the steel. The engraving with this machine is very basic and rough so all the finishing will be done by hand.

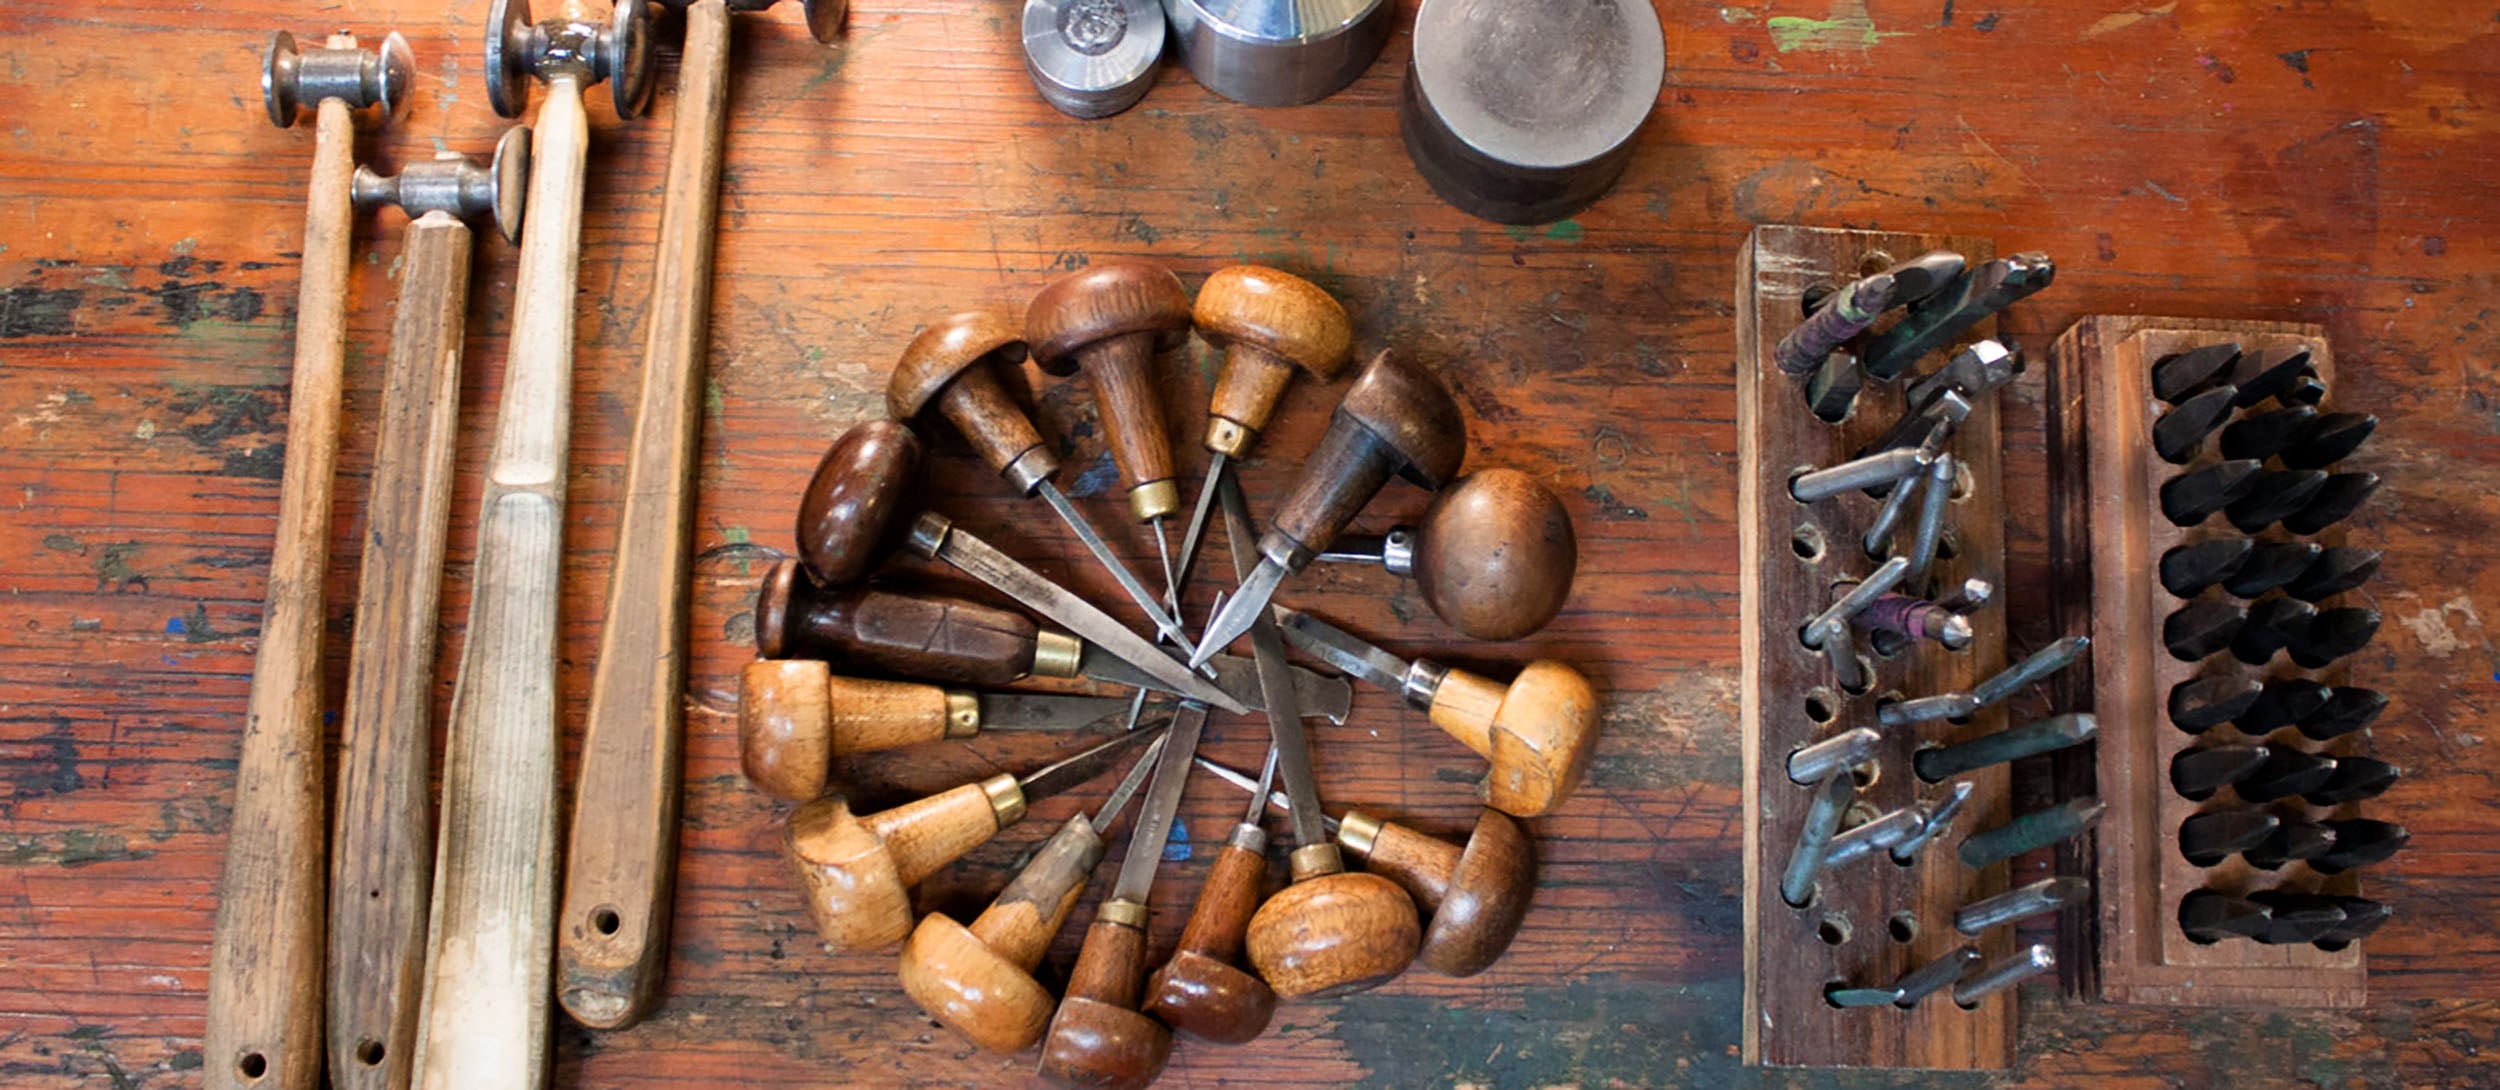
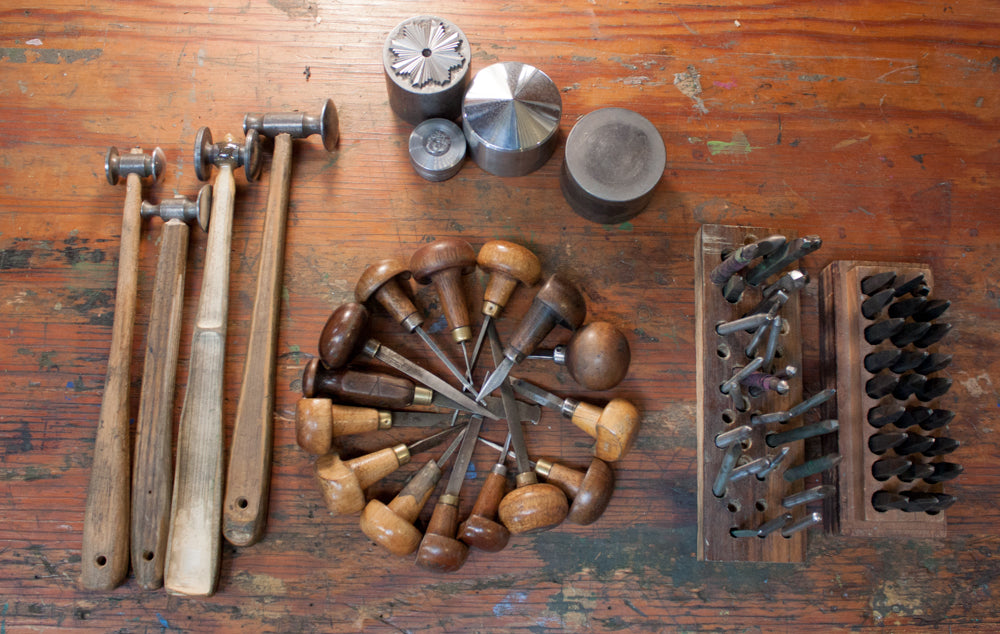
When the outline is done, Woody, our resident engraver, will use carving tools to continue the design. In the case of the viking coin shown earlier, the engraver used the same chisel-engraving technique that was used to make ancient coins.
When the engraving is finished, test strikes are done on a soft metal so as not to damage the dies. We keep a bit of the very soft metal indium in the shop for this purpose, but a thick piece of aluminum also works.

Above is a test Strike on Indium metal for Patrick Rothfuss' King Feyda Calanthis Breakable Vintish Penny, a coin launched December 2020 from the world of The Kingkiller Chronicles.
If the design looks good and needs no further work, the dies are hardened through a standard process of heating, quenching, and tempering. This finalizes the engraving and allows thousands of impressions to be made before the dies begin to show signs of wear. They are now ready to start stamping coins!
Quencing the steel dies in oil:
Blanking
A metal "blank" is the piece of metal that takes the engraved impressions from the dies. Some blanks can be bought in pre-made weights and sizes, but most blanks are created in-shop. To create our own blanks, we start with sheets of metal (such as copper, brass, bronze, iron, niobium, or mokume-gane). We roll it flatter if we need a thinner coin. We use a blanking press to cut the coin shapes out of each sheet, trying to get as many shapes as possible out of each sheet. It's much like cutting cookies out of a piece of dough except needing quite a bit more tonnage.

Our blanks are typically tumbled after cutting but before striking to soften the sharp edges.
Minting the coin
Early coins were struck by hand using hammers, such coins are necessarily small and with low relief. The evolution of minting has basically followed the evolution of industry, as larger presses have become available. We happily don't mint with hammers and have a growing collection of coin presses, Here are our favorites:
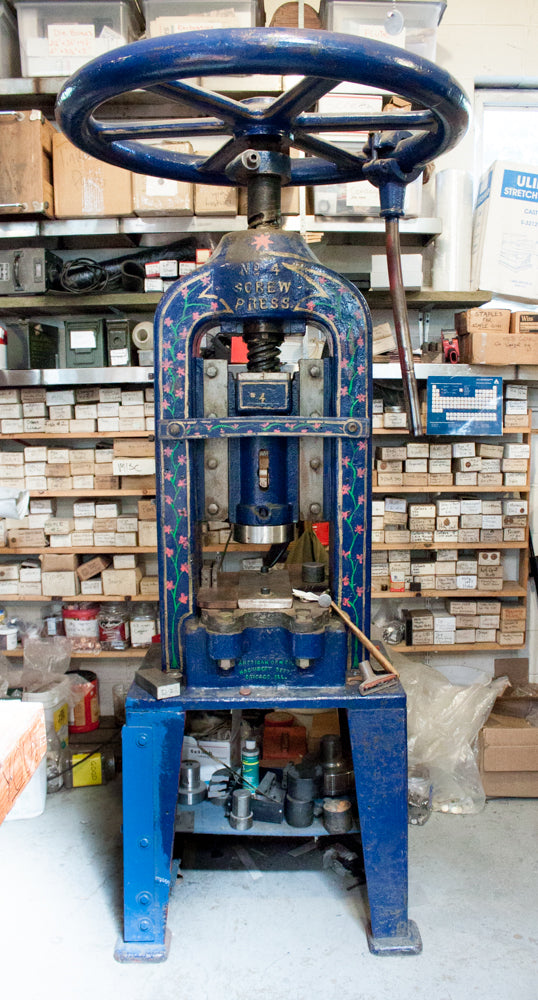
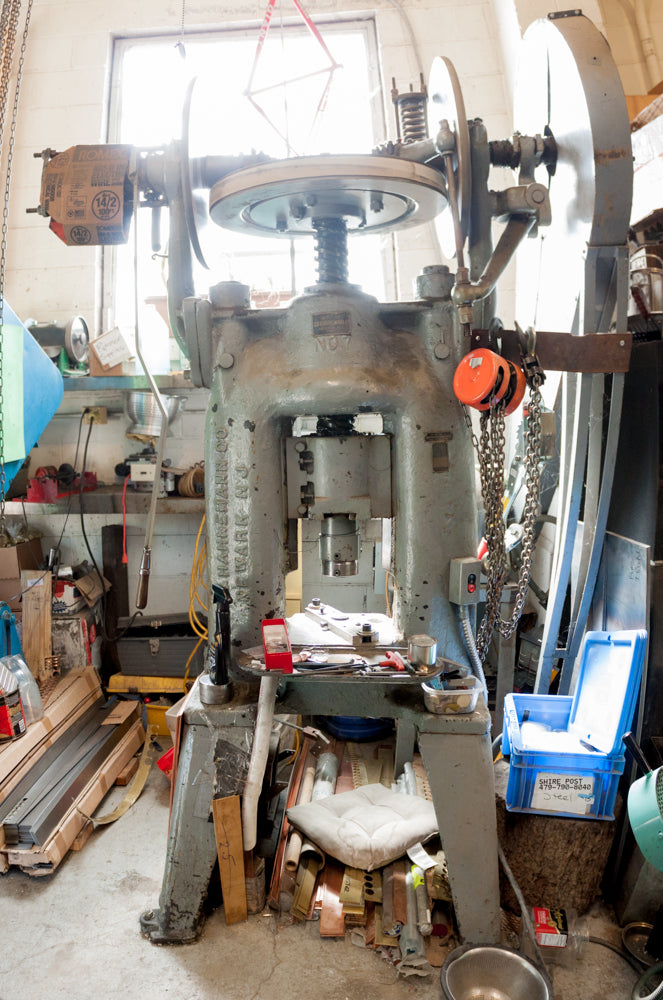
Electric Screw Press: This was Tom's second major coin press. Most of his early coins were made with this press. It can mint around 15 coins per minute. This was the main "workhorse" of the shop until we found the knuckle press below.


We choose the correct equipment, fit both dies into the machine, center the blank on the bottom die, and stamp! The coin is made.
Fitting the dies into the press:
Minting thick copper coins:
Finishing
Some coins are complete immediately after minting and are kept shiny, or in "mint" condition, like the Aegon I Targaryen Silver Stag. Many of our other coins get processed to emulate a worn coin, as if it has been carried in pockets or purses for many years. The main process that we use is to put a batch of coins into a large tumbler with water and bits of metal, plastic, or stone. These will roll around together and wear down the surface of the coin. Various oxidizing agents can be added in this step to create a different look. These compounds vary with each different metal and the end results can be surprising. It is both an art and a science and no two batches of coins are ever exactly the same.
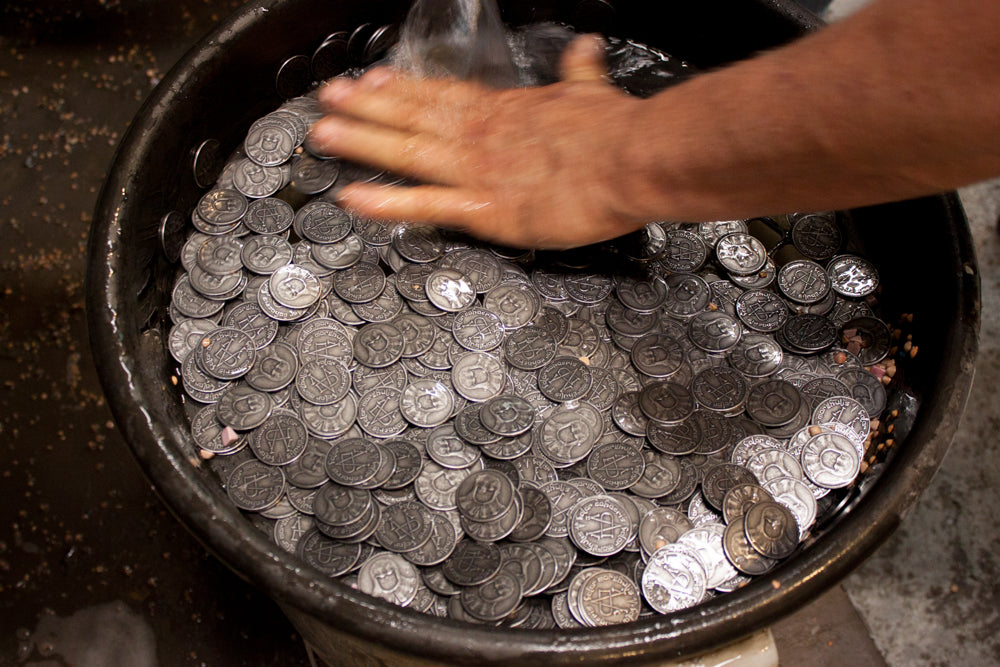
The coins are now ready to be packaged and shipped to our amazing fans!
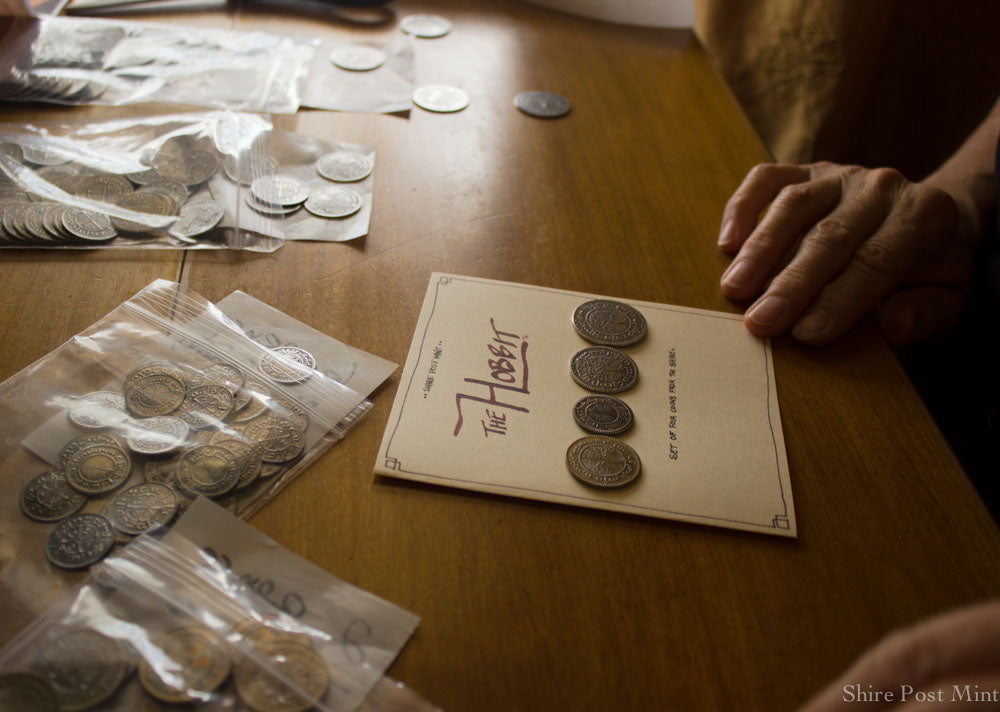
Peggy Maringer packing The Hobbit Set #2 onto a card with history and translations of each coin
If you'd like to inquire about having a custom coin made, please email us at sales@shirepost.com


